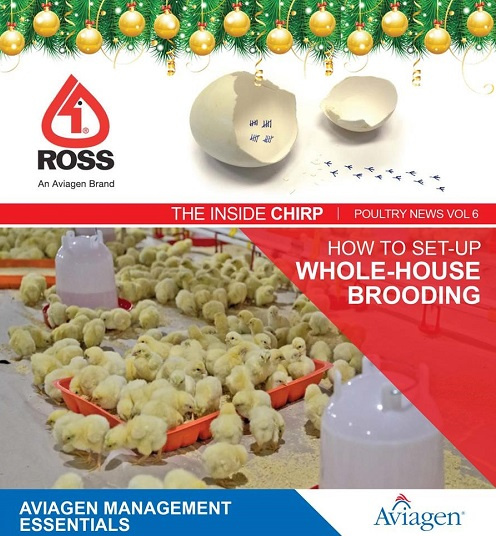
Why The Correct Whole-House Brooding Set-Up Is Important?
Brooding is the first 7 - 10 days of a chick’s life and the objective during this period is to provide the optimum conditions for the development of appetite and feeding behavior.
The correct set-up of the brooding area will provide the best start for a chick so that it can go on to achieve high levels of flock performance, uniformity and welfare
THE PROCEDURE FOR SETTING UP A WHOLE-HOUSE BROODING AREA
Start with a clean, disinfected, biosecure and dry house where the bedding material has been evenly spread over the floor area to a minimum depth of 5 cm.
THE REQUIRED EQUIPMENT
- Plastic, card or wood board fencing approximately 50 cm in height to partition off the brooding area.
- Chick paper or alternative floor covering to place in the brooding area.
- Mini or supplementary drinkers.
- A thermometer to measure temperature.
- A hygrometer to measure humidity.
- Light intensity meter.
- A heat source.
STEP-BY-STEP PROCEDURE FOR WHOLE-HOUSE BROODING SET-UP
When whole-house brooding, it is good practice to reduce the size of the area where the chicks are placed. Calculate the correct size of brooding area needed then place the brooding surrounds across the house, securing it so that it cannot fall down. Where the mechanical feeding and drinking systems pass through the surrounds, care should be taken to ensure any gaps are blocked so that the chicks cannot escape.
Allow an initial chick stocking density of 40 chicks / m2
STEP 1
Place the chick paper across the brooding area in rows parallel to the mechanical feeding and drinking systems. The paper should cover at least 80% of the brooding area.
STEP 2
Lower the mechanical feeding system onto the litter; make sure the system is level on the floor.
If a pan system is being used the flood setting on the pan should be set to fully open. Where a chain feeder is being used the depth setting slide should be adjusted to provide the highest level of feed.
- 2A. Run the mechanical feeding system and check the feeders are all full to the correct level.
- 2B. To stimulate activity, feed should be spread on the paper and fresh feed added regularly for the first 3 days.
STEP 3
Lower the drinker system to allow unrestricted access for chicks.
- If using nipples allow 12 birds per nipple.
- If using bell drinkers allow 6 bell drinkers per 1000 birds.
Place supplementary drinkers or mini drinkers between the main drinker line and the mechanical feeding system.
- 10 mini or supplementary drinkers per 1000 birds.
- Chicks should not have to travel more than 1 m (3.3 ft) to reach water.
Ideally supplementary feeders should also be placed in the brooding area. (1 tray per 100 chicks).
STEP 4
Any electronic or digital temperature or relative humidity (RH) sensors should be calibrated with conventional meters to verify accuracy.
Place sensors at chick height in the front, middle and rear of the house. (See How To...Monitor Temperature and Humidity, available on our website www.rosspoultrybreeders.co.za).
At least 24 hours prior to placement, turn on the main heat supply to begin preheating.
Recommended environmental conditions at placement are listed below, however chick behaviour must be monitored and adjustments should be made if required.
- Air Temperature: 30.0°C.
- Litter Temperature: 28.0 - 30.0°C.
- RH: 60 / 70%.
STEP 5
Fill the supplementary drinkers with clean, fresh water at the appropriate temperature
(18.0 - 21.0°C). Turn on the automated drinker system and flush the system of residual water.
STEP 6
Use a light meter to check light intensity of 30 - 40 lux is provided at bird height. This should be checked at different locations in the brooding area to ensure a uniform light distribution.
STEP 7
Gently unload the chicks onto the feed, ensuring they are evenly distributed across the entire brooding area
STEP 8
Monitor and record.
- Check and record temperature at chick level - adjust as required.
- Check and record relative humidity in the house - adjust as required.
- Check and record light intensity and uniformity of light - adjust as required.
INTERPRETING RESULTS
Monitor chick behaviour.
Copyright 2020 ROSS POULTRY
Managed by Marot & Sanders, All rights reserved.


